Authoring Tip: Efficiently Managing Generated Latex Assets
When writing scientific reports and research I usually include assets such as tables and
images that are included in the final report using code.
Generated assets are often dependent on numerical results that may change
between runs depending on the version of the code used or random noise.
The majority of technical authors manually upload their plots to Overleaf and manually
enter their tables into their final .tex document.
This is a huge time sink and disincentivizes you to continue iterating on your project.
This tutorial shows you how to efficiently manage your generated assets using Overleaf and GitHub.
Project structure
Let's start out by creating a new project. After creating your project, initialize the Overleaf GitHub sync feature. I used to not use this because it is a premium feature. Don't make the same mistake. Value your time and sanity over saving $8 a month.
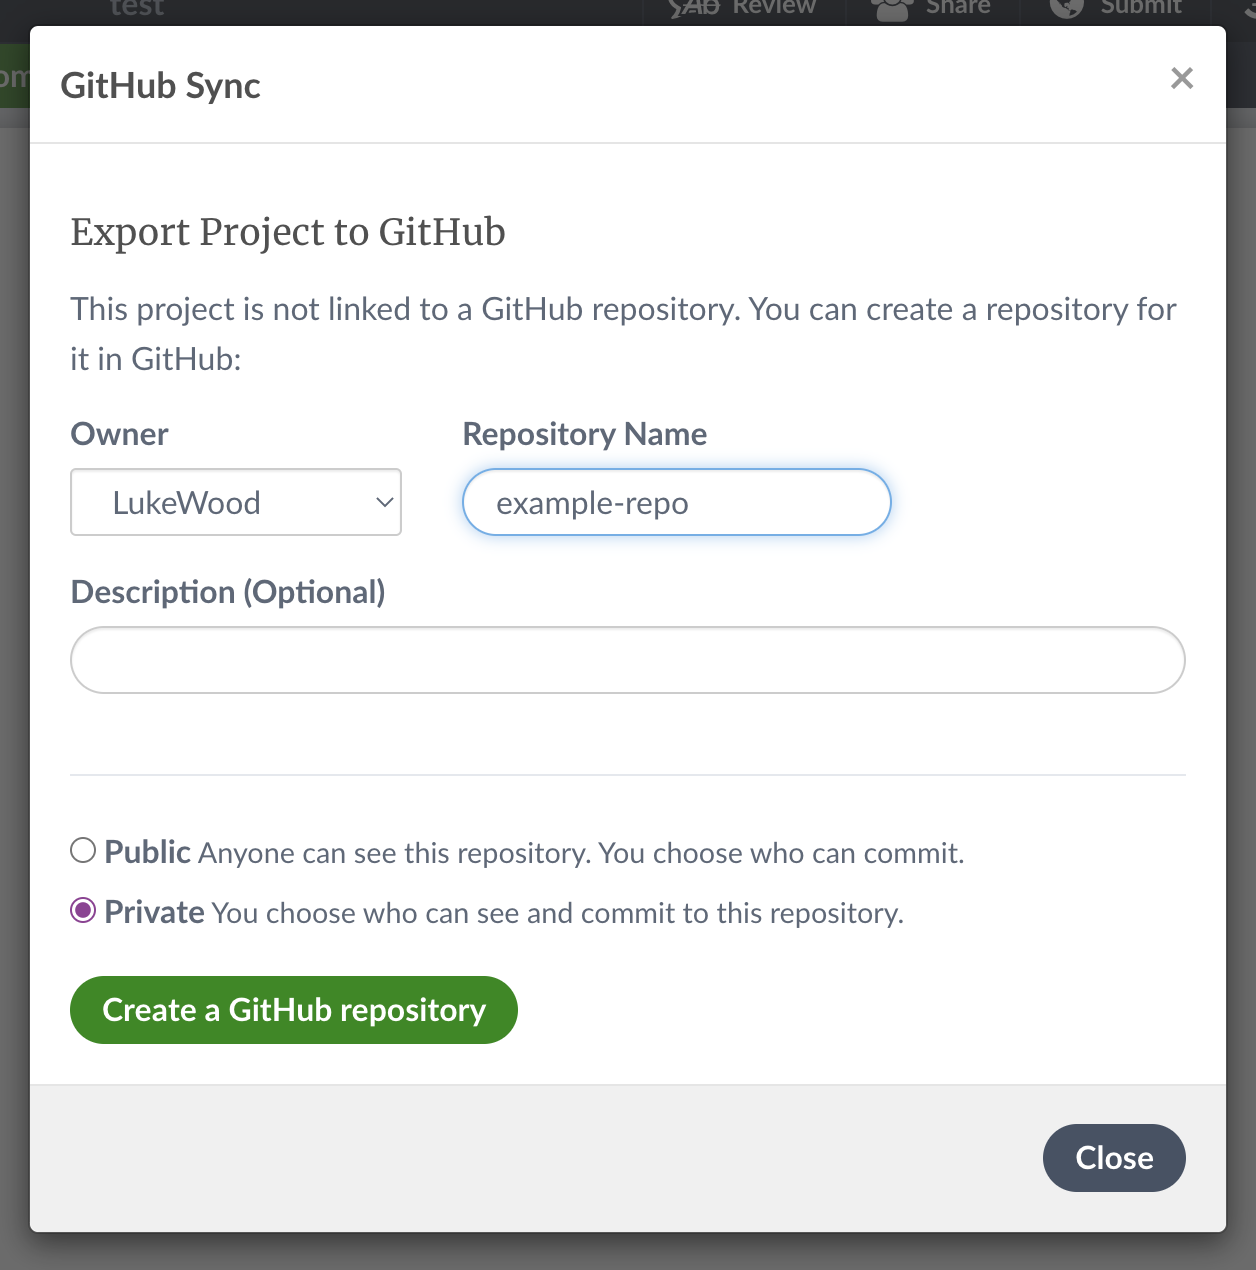
When you initialize GitHub sync, Overleaf will produce a GitHub repo for your project. Idiomatically, this repo should only include your paper code. To work around this, this repo should be treated as a submodule of your primary repo.
Create another GitHub repo. Following this, clone your repo, and add you Overleaf repo as a submodule:
To make managing the submodule easier I update my global git config to pull changes by default:
For demonstration purposes lets create a directory that will generate some assets:
Cool, your project is setup now. You have a GitHub project that will host experiments that generate latex tables and an Overleaf repo as a submodule.
Generating and syncing assets
For demonstration purposes lets generate two assets:
- a line plot
- a Latex table
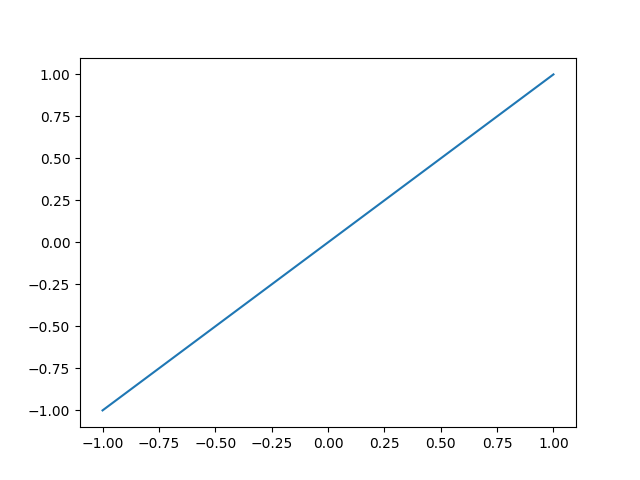
Line Plot
For demonstration purposes we will produce a simple line plot. Enter the following code
in a file called experiments/generate_plot.py
Latex Table
Let's also produce a simple table using Pandas. Let's add the following code to
experiments/generate_table.py:
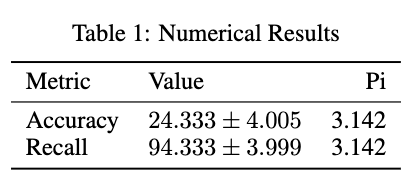
df.to_latex() offers an easy way to produce latex tables.
Add the artifacts to Overleaf
First, run both files:
Next, let's add these artifacts to Overleaf:
Finally, pull the changes from GitHub:
Including the assets in your Latex document
Let's go through the best way to include these assets in your Latex document.
Figures:
For figures it's pretty straight forward. You simply create a figure and reference the resulting image:
Easy as that.
Tables
Including tables is also trivial. Recall that we saved our table produced by Pandas to
artifacts/demo-table.tex. You'll include the table as follows:
Input is a low level macro that will basically act as though the text in
demo-table.tex was hosted in your Overleaf document.
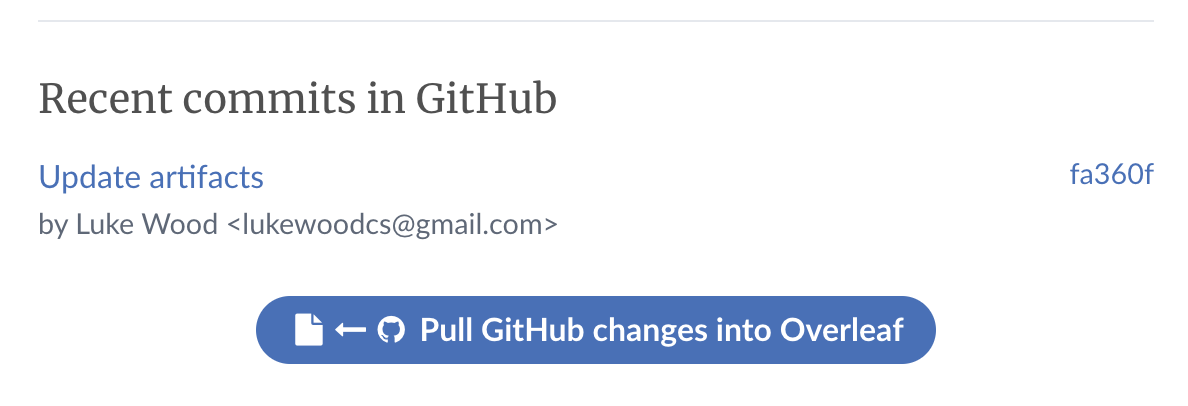
Updating Artifacts
Whenever you want to update the artifacts, you will just run the following:
Then, go to Overleaf and pull the changes from GitHub:
Following this your updates will be rendered in the overleaf document. Super quick and easy!
Hope this helps, happy writing!